


Send bulk SMS right from Excel spreadsheet with Bulk SMS Excel plugin
With Bulk SMS's Excel plugin, you can send SMS directly from your Excel sheet, without logging into the Bulk SMS Messenger. This guide walks you through a few simple steps that are required to set up Excel to SMS in your Bulk SMS account.
1. Sign up and add credits
Sign up for a free Bulk SMS account and activate it by verifying your e-mail address & mobile number.
Add credits to your Bulk SMS account
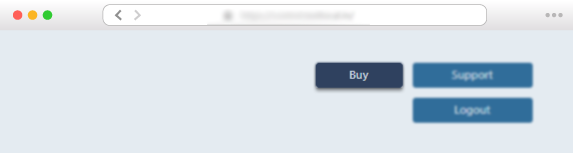
To send SMS using the plugin you must have credits in your Bulk SMS account. One credit is used for 1 SMS of up to 160 characters. You can see your existing credit balance in the top right corner of the Bulk SMS dashboard. To purchase credits, you can log on to the website and click on the ‘Buy’ button on the top right corner.
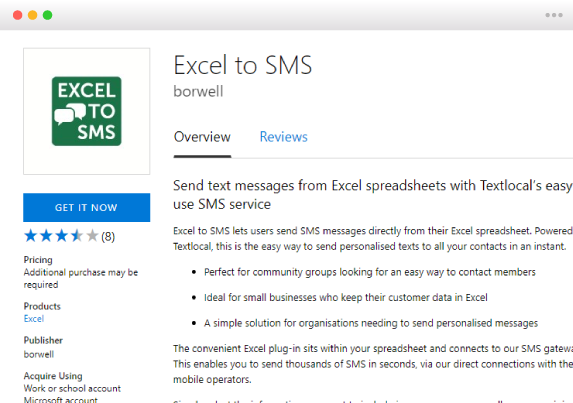
2. Download & install the plugin
Download the plugin and install it
- Go to this page from Office Store
- Click on ‘Add’ button, it takes you to the template install page
- Then click on ‘Open in Excel’ which downloads an excel sheet
- Open the sheet, click on ‘Enable editing’ and then ‘Trust this add-in’ to finish the installation
- You can always open the plugin from you excel sheet by going to Insert > My Add-ins > Excel to SMS
3. Connect to Bulk SMS
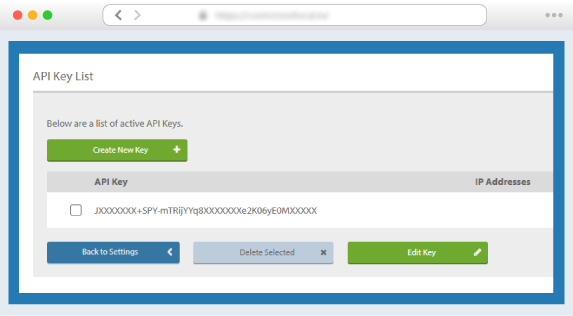
The first time you use Excel to SMS, you need to connect Excel to Bulk SMS account using an API key. You can find the API key here:
- Click Settings > All settings > API keys
- Click on Create New Key
- In the Notes field, give your API key a recognisable name, for example; Excel. Click Save New Key
Your API key will be an alphanumeric string in the
formatXXXvIElXXXEha4FWmXXX5HWMiL5IuGuXXX16XXXX
When you first install the plugin, you will be prompted to add your API key into the Bulk SMS window in Excel.
Click Enter to connect Excel to your Bulk SMS account.
4. Compose your message
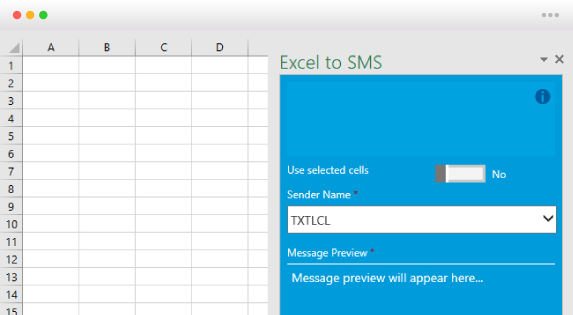
After you have installed the Excel plugin and entered your API key, you can begin writing your message.
Configure Sender IDs
Note: If your account is in a promotional route, the messages will be sent with a random 6 digit Sender IDs assigned by the operator. To get a Sender ID of your choice, upgrade to the transactional route. (Know the differences between promotional and transactional messages here)
After upgrading to the transactional route, you can request for a 6 alpha character Sender ID of your choice. Upon approval, you can select the Sender Names under the drop-down ‘Sender Name’ when you next open your Excel file.
You can use existing data from the Excel sheet to form the message content and contacts. Alternatively, you can manually type the message content and contact numbers in the plugin window.
Manual messages
To manually create messages, set ‘Use Selected Cells’ to No. Select Compose Message and type your message in the pop-up window. When your message is ready, click Save.
Next, manually add your phone numbers into the Numbers field. You need to press ‘Enter’ or ‘,’ after entering each number – you will see that the number turns blue once it has been accepted into the system.
You can send this message to as many numbers are you want and every recipient will receive the same message; no personalization can be applied with this method.
Automated messages
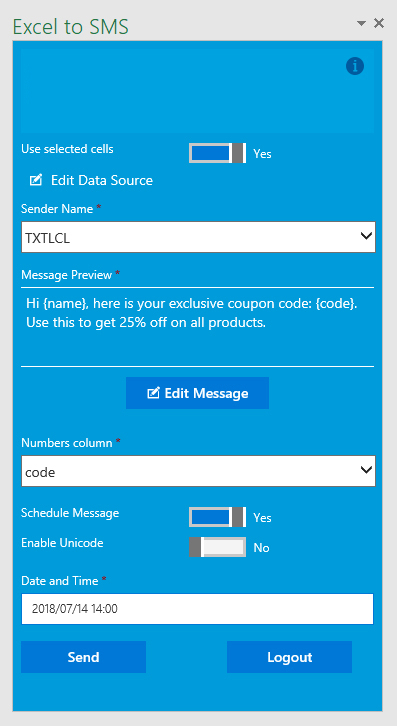
If you want to personalize your messages, select the cells you want to use in your message, set Use Selected Cells to Yes, and confirm your selection by clicking OK in the pop-up box.
Select Compose Message.
When you want to add personalized content into your messages, use the columns drop-down menu to select the information you want to add to your message then click Insert Placeholder. You can also add in personalized information without using the drop-down menu, by typing the column header in { } brackets, e.g. {Pet} is due a {Treatment}. If you use this option, you MUST observe the same spelling, spacing, and capitalizing as in your column headers.
When your message is ready, click Save.
Next, you must tell Excel to SMS which of your columns contains your phone numbers. Use the Numbers column drop-down menu to do this.
Scheduling messages
Use the Date and Time field to schedule your message send. if you want to send your message ‘now’, you must schedule it to go out in one or two minutes.
5. Send your message
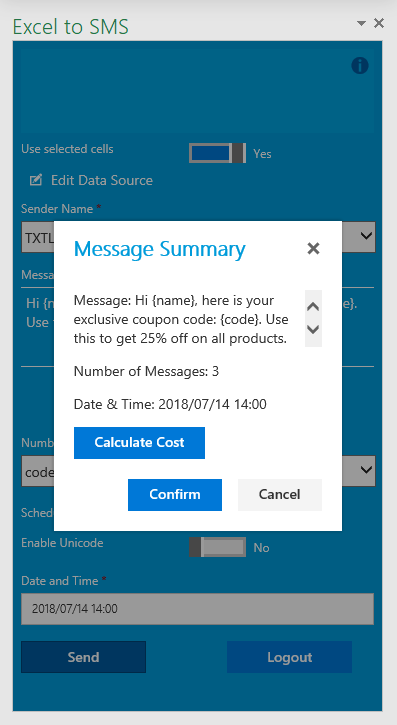
When you hit Send you will see a summary of your message.
This window will show you the content of your message and the Number of Messages you are sending (this is the number of contacts you are sending to, NOT the number of 160character SMS credits you are using). You can also review the Date and Time scheduled for your send.
The Calculate Cost function shows you the number of SMS credits that your send will consume (1 credit = 160 characters). If your account is in the ‘Promotional route’, our DND filter will automatically remove the numbers activated for DND and this will be reflected in the cost.
To send your message, click Confirm.
6. Hiding or removing Excel to SMS plug-in
If you want to close the Bulk SMS panel in Excel, simply click on the ‘Close’ button in the top right corner of your spreadsheet.
Click on the top of the plugin window and drag it to move it to a different position. You can double-click on the plugin window to expand the Excel to SMS panel again.
Click on ‘Logout’ to logout of the plugin completely. You can log in back using the API key.


